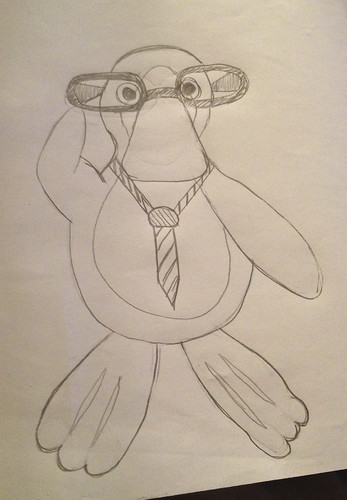
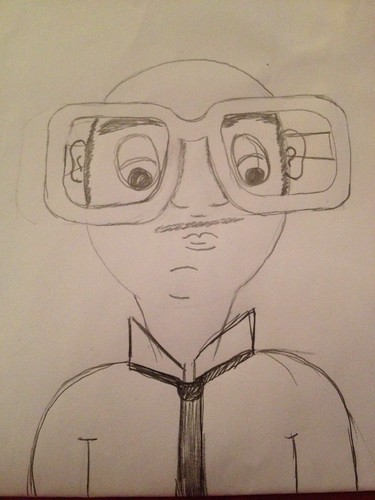
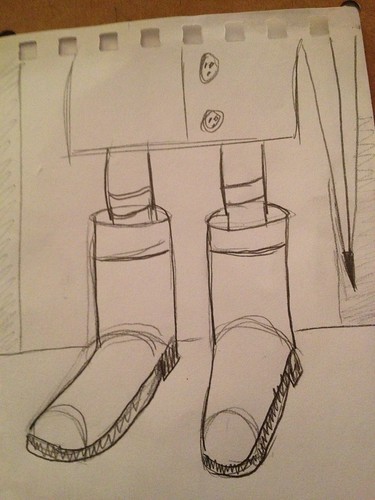
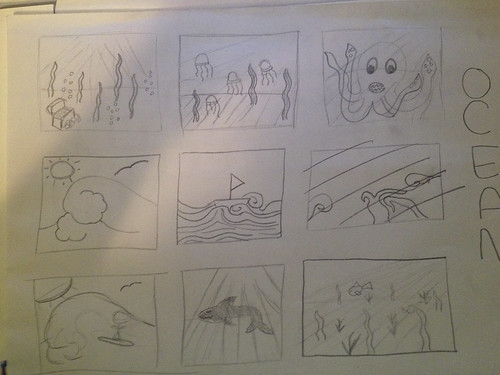
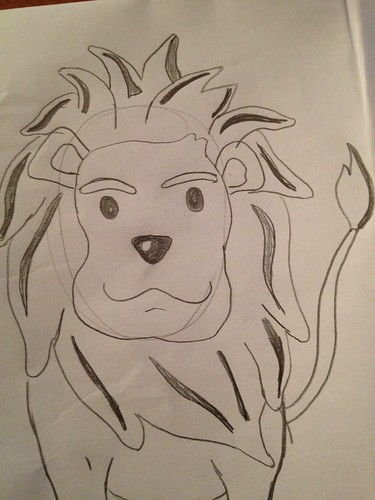
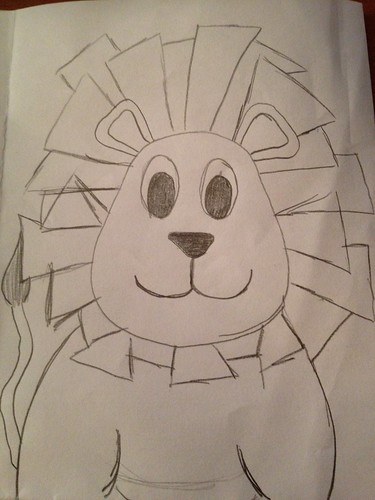
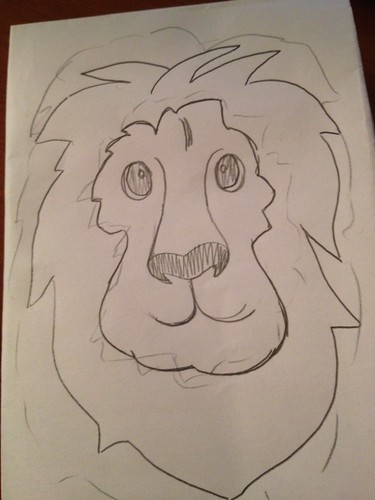
Step 1: Thumbnails
I began my illustration by drawing 3 different styles of lions.
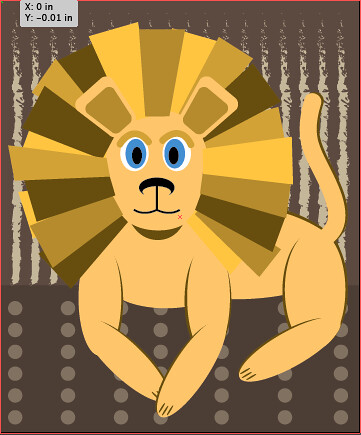
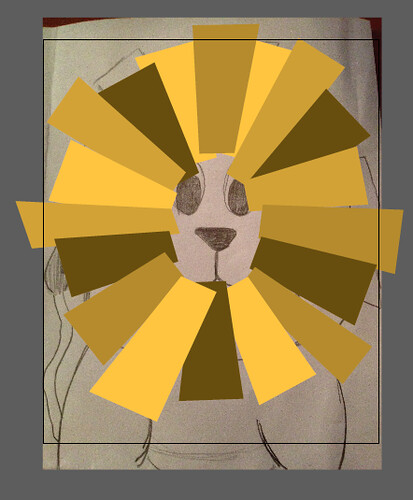
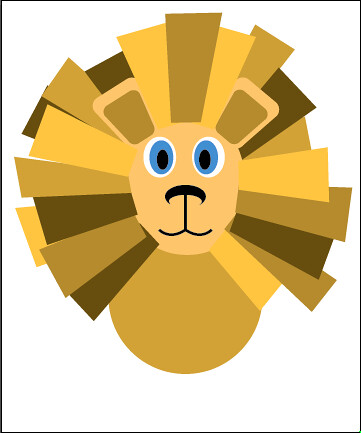
Step 2: Digital Rendering.
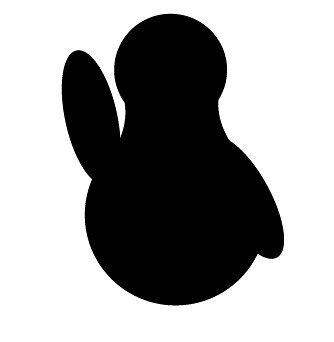
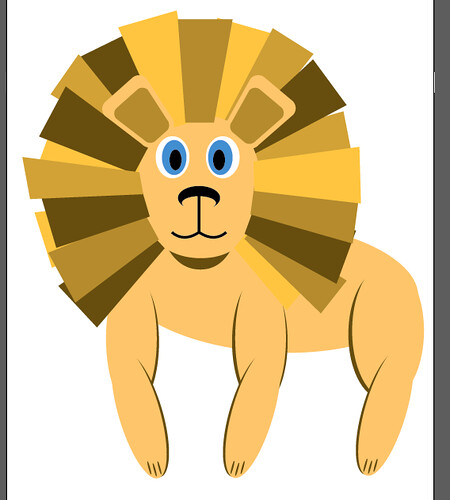
Below are some of the stages of the digital rendering of the lion. I began by tracing the 2nd sketch but as I went on through creating the rest of the lion I took elements from all of the sketches and brought them together to create my final. The elements of the lions mane were repositioned many times all the way through to the end, it was hard to get them perfect since I kept changing the lions positioning.

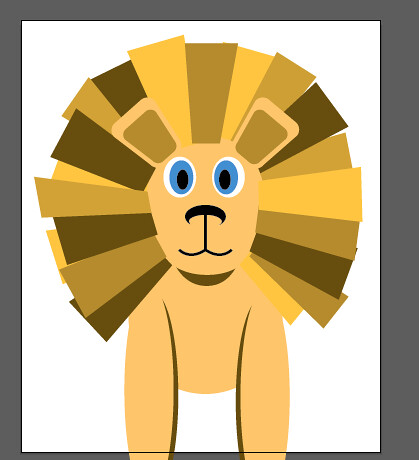
Step 3: Final
To finish off this illustration I gave the lion a tail and added a some extra shadowing behind him. I made a simple background to add some interest.